Published on: 09-08-23 01:15pm

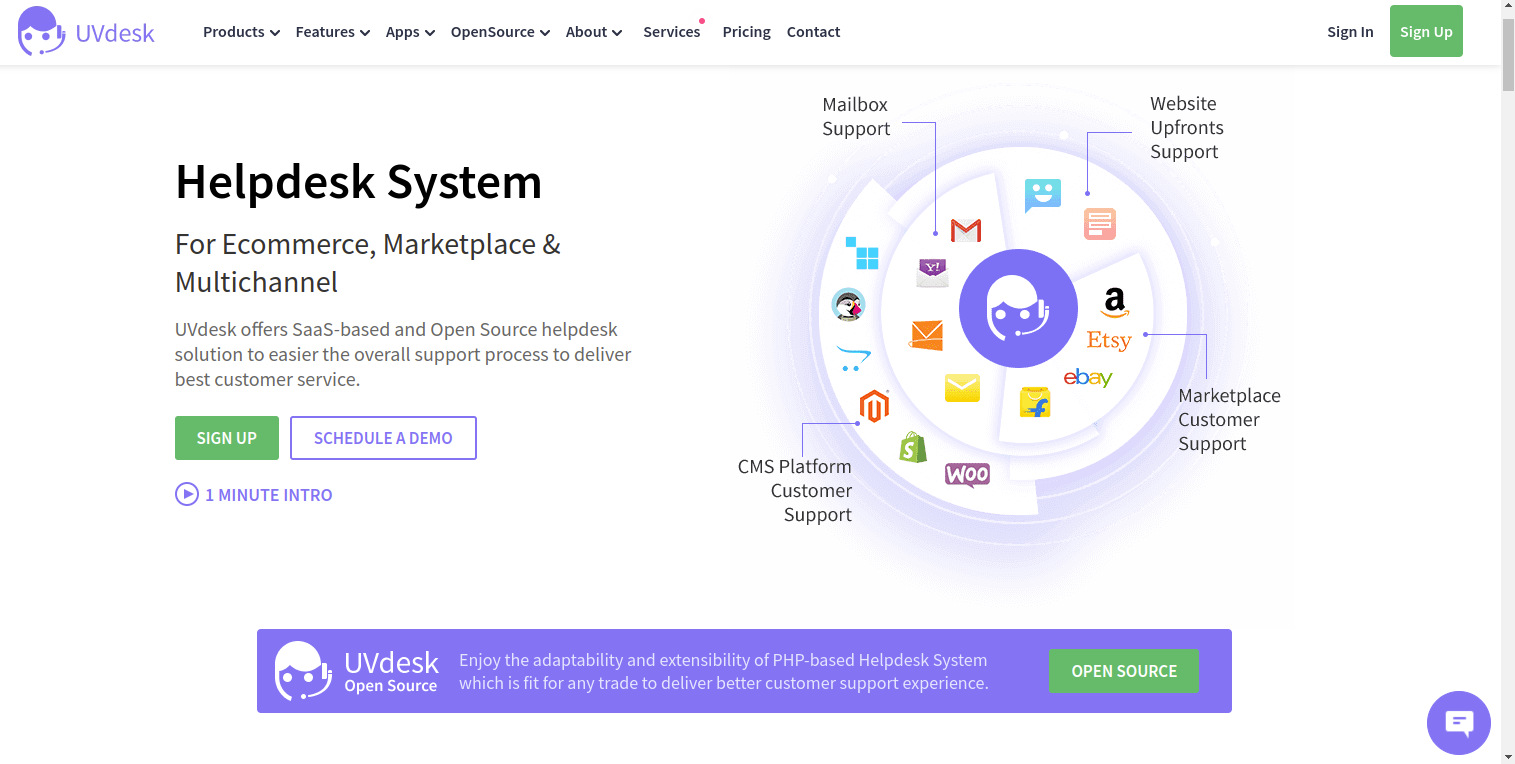
Introducing Shopify Helpdesk App to integrate it with your Shopify Store for letting your customers visit your website and Create Ticket for any query to get instant response from support staff.
Now, Merchant can have complete helpdesk system for their Shopify Store. A systematic Ticket Management System with all the needed features like Ticket Mangement, Binaka, Form Builder, Assets Visibility, etc to manage the customer support process in an easy way from the Shopify Admin Panel.
If you already have a helpdesk account that you would like to use across multiple stores, using this app, store owners can pre-configure their Shopify UVdesk connector prior to installing the application on Store so that it connects with your helpdesk account during installation instead of creating a new helpdesk account.
If you already have a helpdesk account and you want to Integrate Webkul Helpdesk Support‑UVdesk with your for your Multiple Shopify Store then follow below-mentioned steps and repeat the process for each store:
To install Help Desk for Shopify from your Shopify Store instructions are drafted below:


Now Setup your helpdesk with the Shopify dashboard click on this Webkul Helpdesk Support‑UVdesk app:
You can connect your Shopify account with an existing UVdesk helpdesk or can create a new UVdesk helpdesk.
In order to use this add-on, the admin needs to have the UVdesk access token, please visit this link and log in to your UVdesk account. In case you don’t have a UVdesk account, you can create a free account as well.
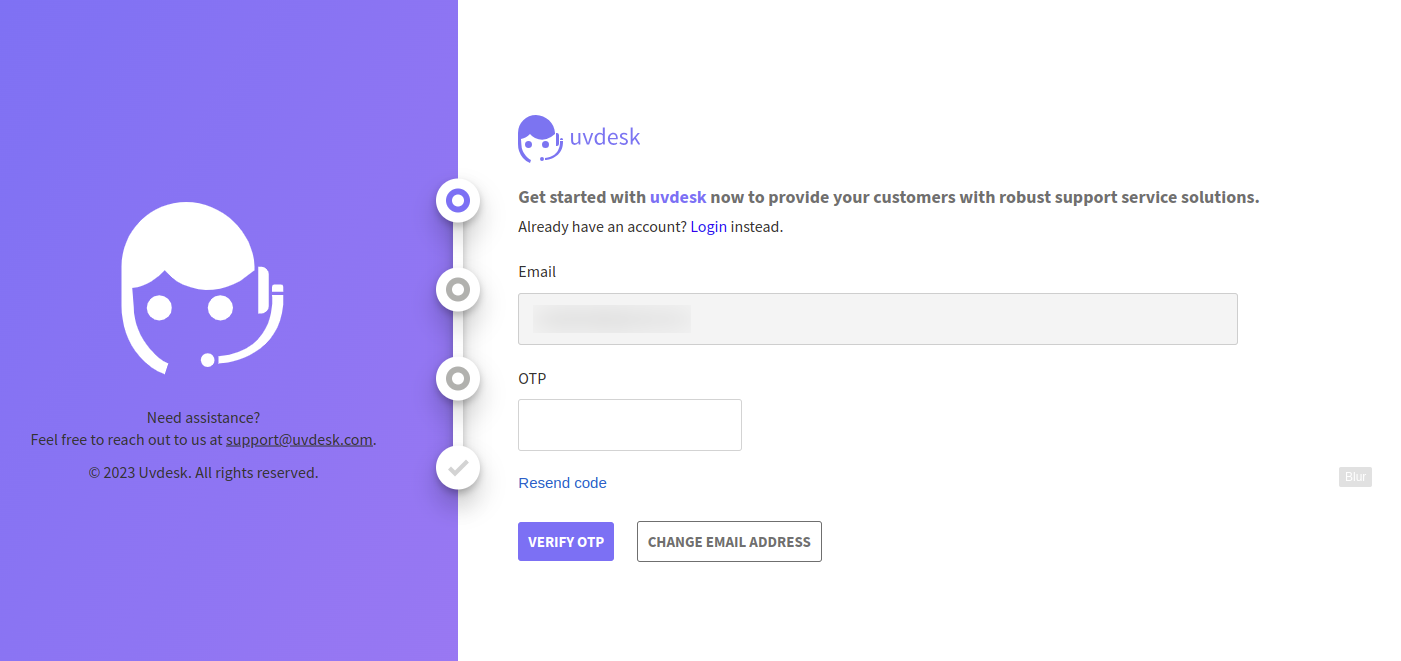
Step 1: Here the user needs to enter a valid email id and click on “Get Started”.

Step 2: Once the user enters their email ID, an OTP will be generated and sent to them. They must then input the received OTP and proceed to click on the “Verify OTP” button.
Step 3: In this scenario, the user is required to input their email address, name, phone number, organization, and subdomain. After providing these details, they can proceed by clicking the “Signup” button.

Step 4: Once the user completes the sign-up process, they will receive an email to set their password.
After successfully setting a new password, the user can conveniently access their account by using their registered email and the newly created password.

Once your UVdesk account has been created you’ll be redirected to the UVdesk dashboard. Please go to the Profile option.

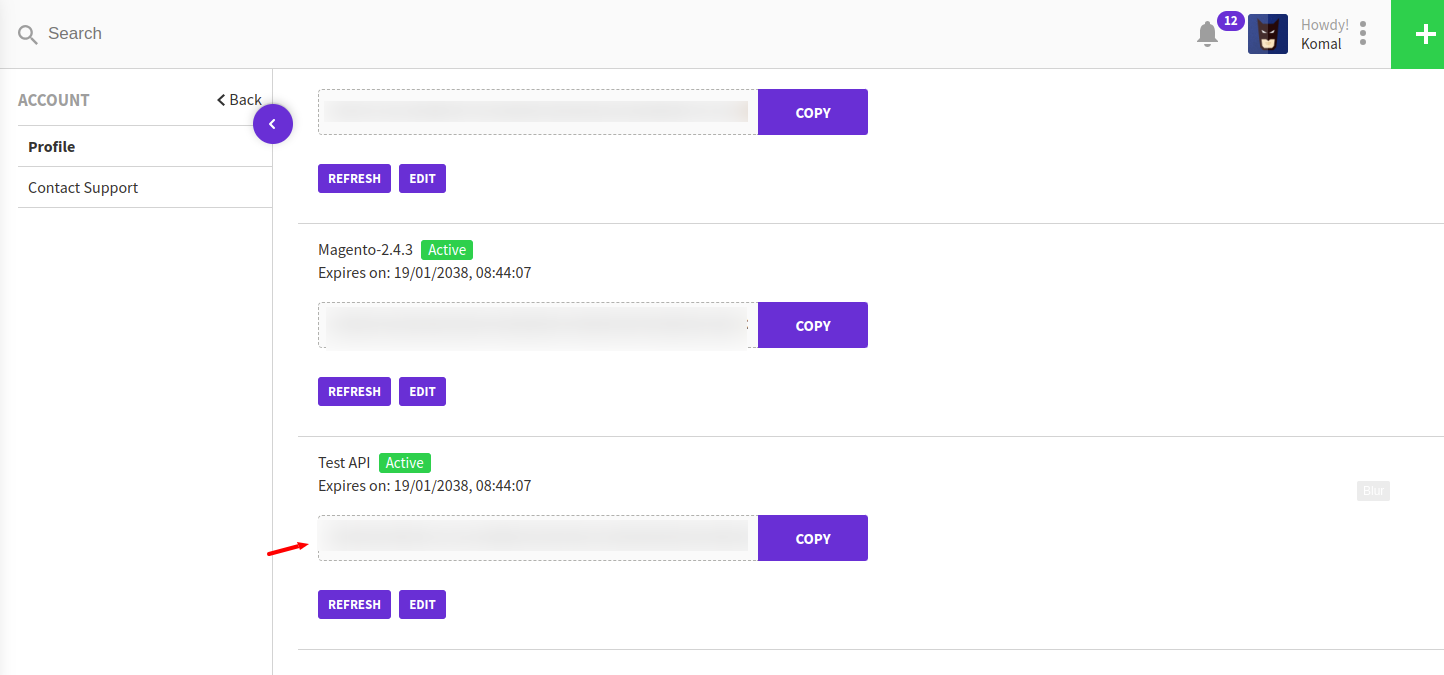
Then, go to API Access Tokens and click the New Token button.
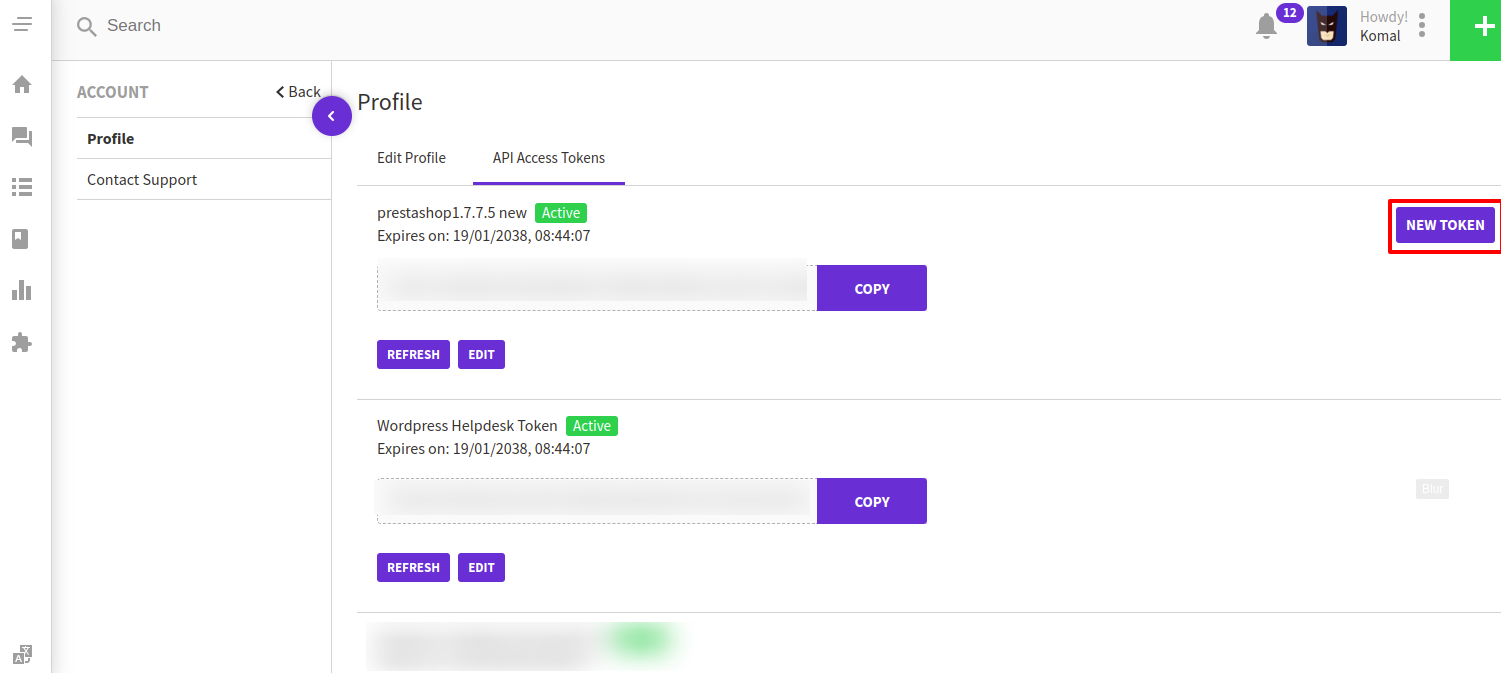
Enter any name for the token and click Save Token, it will generate Token Key.

Copy and paste the Token Key into the Shopify module configuration.
To add your new Webkul Helpdesk Support‑UVdesk here with writing: company name, domain name, and owner details like first name, last name, email, and contact number.

To connect with existing Webkul Helpdesk Support‑UVdesk you can enter the details of your existing helpdesk like domain and API key.

After clicking on Webkul Helpdesk Support‑UVdesk installed it will show Webkul Helpdesk Support‑UVdesk/Dashboard.

In this section, you'll get 4 options - Dashboard, Tickets, Create Ticket, and Onboarding Guide.

Here, the Shopify admin will get two buttons: Continue to Dashboard and Visit Knowledgebase.
Continue to Dashboard(Admin Dashboard):
If the admin wants to manage all tickets from the UVdesk panel then click on continue to Dashboard. This will redirect you to the UVdesk member panel.

An email for setting up the password should receive on the registered email id(Shopify admin email id). The admin can set up the password and log in to the UVdesk member panel.
Visit Knowledgebase (Customer Dashboard):
This link will redirect to the FAQ/Knowledgebase panel for your customer. You can manage and configure the knowledgebase with the help of this guide - How to create Knowledgebase?

You'll get all the Tickets in this section from where you can manage to View the Tickets/Ticket List from the admin panel.


Create Ticket is the section from where admin can create the Ticket on behalf of your customer.

Using this option admin can check the guidelines to update the theme for your app.
To integrate this app block, please follow the instructions as provided below:


From the list of available sections, search or select the Create Ticket section to add it to your page. You can re-position this section in different parts of your page as per your requirements.

Note: Firstly you have to install Dawn theme to add any section for your store view. Rightnow we have only Dawn theme live to add a section.
There is other option to add a new section to your page by clicking on Online Store>Pages.

Then click on Add Page button and create a title to add a section.


By selecting Add menu item you can enter the name and Link for that section.

After clicking on Add button you can view the section in your menu list as shown below:

After clicking on the Save menu button go to the Online Store>Themes>Customize and Add section of Create Ticket.

The section Create Ticket will add to your online store as shown below image:

By clicking on the login icon your customer will get 3 options:
Login (if the customer is already registered), Forgot your password (if the customer has an account but forgot the password), Create account (If the customer isn't having an account with your store).


If you have any queries or doubts please email us at support@uvdesk.com or connect us on UVdesk Support.
Go through this link to check the Demo:
https://shopify-uvdesk.myshopify.com/pages/demo
Looking for anything specific article which resides in general queries? Just browse the various relevant folders and categories and then you will find the desired article.
Contact Us